Virtual Machine (VM)
Use import/open in VirtualBox/VMware to open the .ova file to create the VM.
After the VM is created, please follow the below instructions specific to your hypervisor.
- Verify Network Adaptor 1 is configured as
NATand remaining asInternal Network - Change the name of the internal network to be different for Adaptors 2 to 4 e.g.
osteth1,osteth2,osteth3. These same names must be used for the VM whose NIC you want to connect to these interfaces
- Adaptor 1 should be
NATand the rest should beBridged - Change Adaptors 2 to 4 from
BridgedtoCustomand set a different unusedVMnetXXfor each of them (exceptVmnet0,Vmnet8andVmnet11). These same names must be used for the VM whose NIC you want to connect to these interfaces
File Persistence
The Ostinato VM appliance is specially designed to be have a small footprint (around ~150MB) and at run-time uses a RAM-based file-system. This means any file-system changes are lost on reboot - unless explicitly persisted.
However, files in the home directory /home/ostinato are persisted - provided, you do a clean shutdown or reboot with Backup selected.
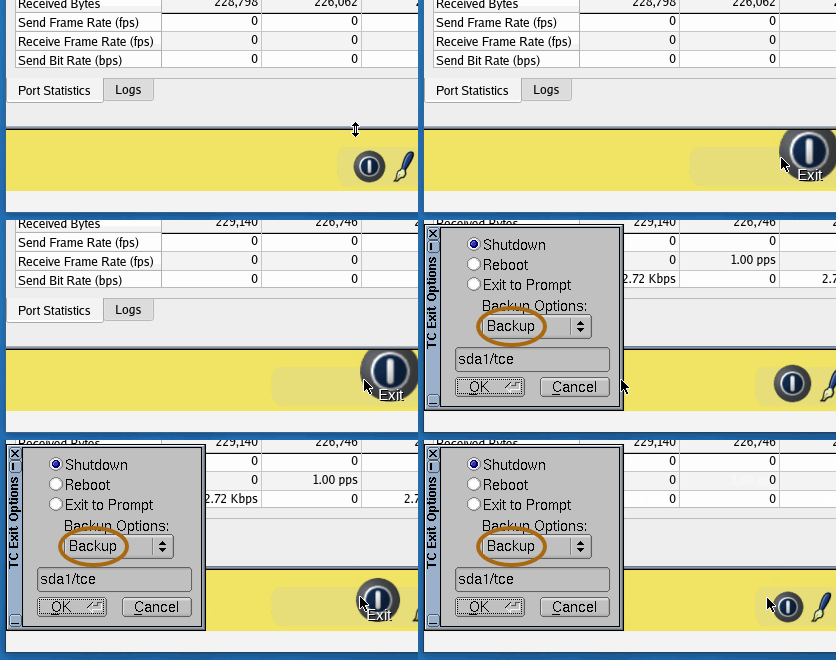
We recommend you do a clean exit every time as shown above.
Alternatively, if you don't want to reboot, you can open a terminal and run an explicit backup.
$ backup
Persisting License Key
After you activate your license on the VM, make sure you persist the same otherwise after a reboot it will come up as unlicensed.
HTTP(S) Proxy
License activation requires the Internet. If your environment requires a http(s) proxy to be configured to enable Internet access, configure it as shown below.
-
Add the following to
~/.ashrcexport http_proxy=http://example.com:8080 export https_proxy=http://example.com:8080 export no_proxy=localhost,127.0.0.1,::1 -
Open a terminal and run
backupto persist the proxy changes - From the GUI go to Help > Activate License
- Run
backupagain to persist the license changes
Tip
When the Ostinato GUI starts, you MAY sometimes get a error message saying Failed to start the local drone agent. This is spurious and can be ignored as long as the 127.0.0.1 portGroup status icon is Green (connected) - this will be fixed shortly.
Interfaces
Although the VM is configured with 4 NICs, eth0 is the management interface. Only eth1, eth2 and eth3 should be used as data interfaces to send traffic on and capture from. You can add additional interfaces in your hypervisor, if required.